Singer Overlocker Manual: A Comprehensive Guide
Navigating your Singer overlocker can be streamlined with readily available self-service resources. Online communities offer support‚ troubleshooting tips‚ and guidance for managing account details like bank information.
Understanding Your Singer Overlocker
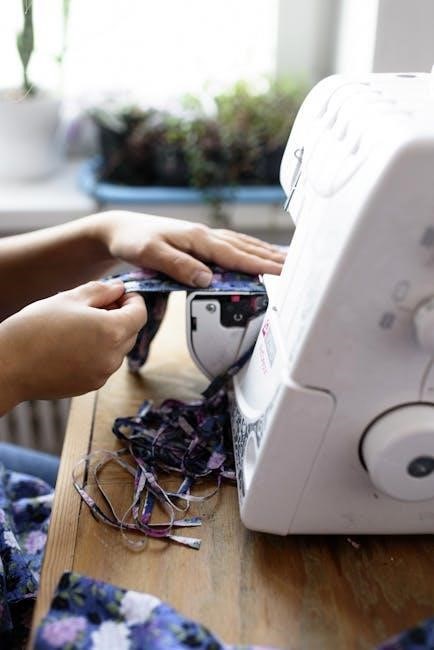
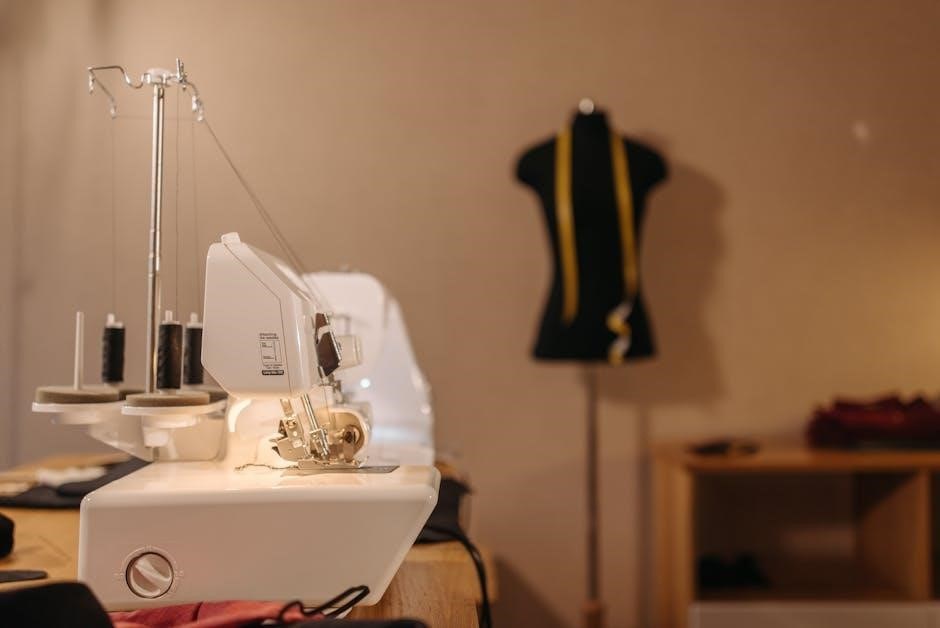
Your Singer overlocker is a powerful tool designed for professional-quality seam finishing‚ but understanding its capabilities is key to unlocking its full potential. Unlike a traditional sewing machine‚ an overlocker simultaneously sews‚ trims‚ and encases the raw edges of fabric‚ preventing fraying and creating a durable‚ neat finish. This makes it ideal for garments‚ especially knitwear‚ and various home décor projects.
Modern Singer overlockers‚ as highlighted by user experiences shared in online communities‚ often integrate seamlessly with existing home networks‚ mirroring the connectivity seen in modern routers and internet setups. While seemingly unrelated‚ this reflects a broader trend towards user-friendly‚ integrated technology. Successfully managing your overlocker‚ like managing your Vodafone account or updating bank details online‚ requires a degree of familiarity with its features.
Furthermore‚ accessing support and troubleshooting information is now easier than ever. Just as Vodafone provides self-service options for contract changes and number portability‚ numerous online resources – forums‚ videos‚ and official manuals – are available to assist you with any challenges you may encounter. Understanding these resources is as important as understanding the machine itself.
Identifying the Parts of Your Machine
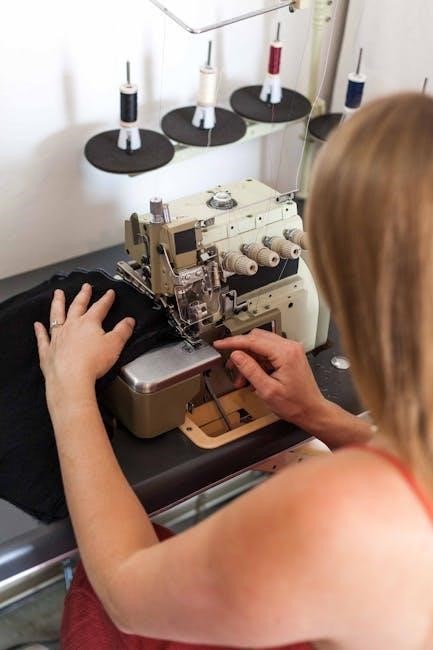
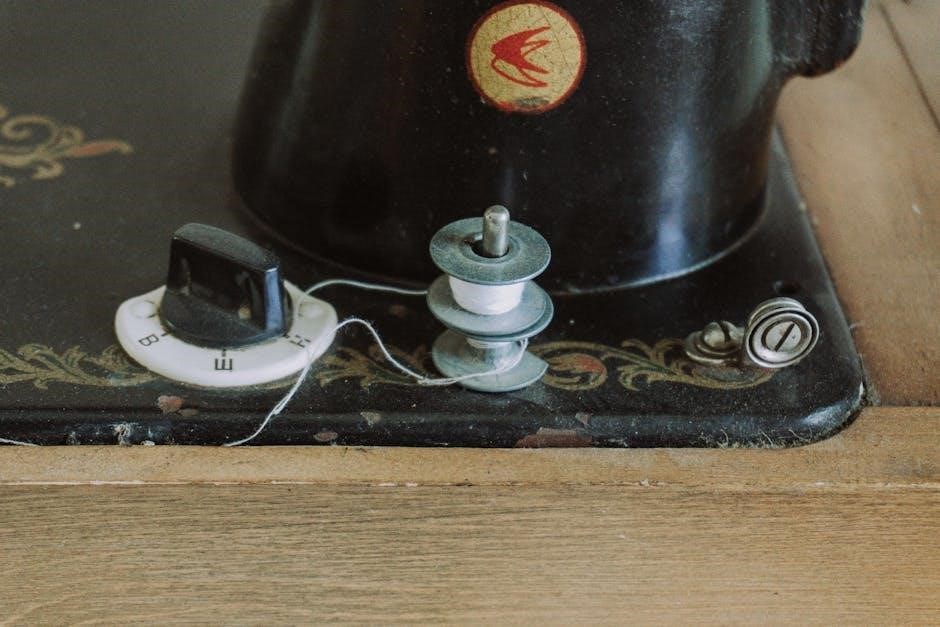
Familiarizing yourself with the components of your Singer overlocker is the first step towards confident operation. Key parts include the needles (typically one or two)‚ the upper and lower loopers‚ the feed dogs‚ the presser foot‚ and the tension dials. Each plays a crucial role in forming the overlock stitch.
The needles create the initial stitch formation‚ while the loopers interlock the threads around the fabric edge‚ creating a secure and finished seam. The feed dogs‚ similar to those on a sewing machine‚ advance the fabric under the presser foot. Tension dials control the tightness of each thread‚ impacting stitch quality – adjustments are often needed based on fabric type‚ mirroring the need to adjust settings for different internet connection types.
Like troubleshooting a network issue where an IP address isn’t updating‚ understanding how each part interacts is vital for resolving threading or stitching problems. Resources‚ much like Vodafone’s self-service portal for managing accounts or changing bank details‚ often include diagrams and detailed explanations of each component. Identifying these parts allows for effective maintenance and repair‚ ensuring your overlocker remains a reliable tool.
Threading the Singer Overlocker: A Step-by-Step Guide
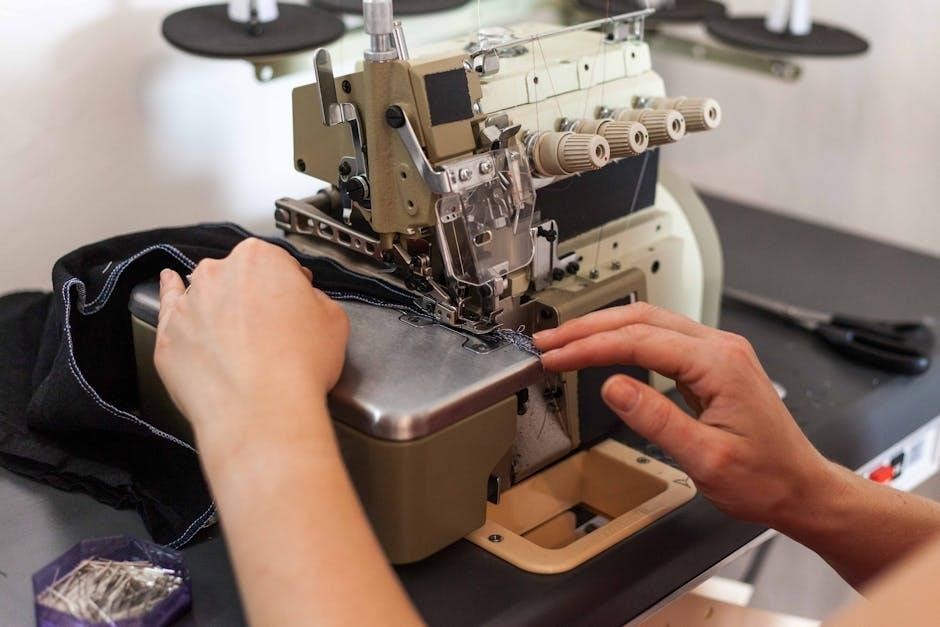
Correct threading is paramount for a well-formed overlock stitch. Begin by raising the presser foot and ensuring the machine is turned off. Follow the numbered threading path indicated on your machine – these paths are often color-coded to match the thread spools. Start with the lower looper‚ then the upper looper‚ and finally the needles.
Each thread must pass through specific tension discs and guides to ensure proper balance. Much like setting up a stable internet connection with a bridge mode router and dual-stack IP addressing‚ precision is key. Incorrect threading leads to skipped stitches‚ uneven edges‚ or thread breakage.
Refer to your machine’s manual for detailed diagrams; online communities‚ similar to Vodafone’s customer forum‚ can also provide visual aids and troubleshooting advice. After threading‚ draw the threads under the presser foot and towards the back of the machine. A test stitch is crucial to verify correct threading and tension before beginning your project. Treat it like confirming a SEPA mandate for automated payments – double-check everything!
Lower Looper Threading
The lower looper creates the chain stitch that interlocks with the other threads‚ forming the overlock seam. Begin by guiding the thread down through the thread guide‚ ensuring it clicks into place. Next‚ pass the thread through the tension disc – this controls the thread’s pull and is vital for stitch quality‚ much like managing your Vodafone contract details.
Continue following the threading path‚ leading the thread through the looper shaft. It’s crucial to ensure the thread is fully inserted into the looper eye; a small needle threader can be helpful here. Improper insertion results in inconsistent stitching and potential breakage‚ similar to issues with incoming call forwarding.
Finally‚ draw the thread through the looper tip. A gentle tug confirms the thread is correctly seated. Like updating your bank information on MeinVodafone‚ accuracy is paramount. Test the threading with a scrap fabric piece before starting your project. If issues arise‚ retrace the steps‚ checking each guide and tension point. Online forums can offer support‚ mirroring the Vodafone community’s assistance.
Upper Looper Threading
Threading the upper looper requires precision‚ as it forms a crucial part of the overlock stitch. Start by guiding the thread through the designated thread guide‚ ensuring it’s securely seated. This initial step‚ like initiating a Vodafone contract change‚ sets the foundation for success.
Next‚ lead the thread through the tension disc‚ controlling the thread’s pull. Proper tension is vital for a balanced stitch. Then‚ carefully thread the upper looper shaft‚ following the machine’s designated path. A needle threader can be invaluable for navigating the looper eye‚ similar to needing assistance with a device return.

Ensure the thread is fully inserted into the looper eye before drawing it through the looper tip. A gentle pull confirms correct placement. Incorrect threading can lead to skipped stitches or thread breakage‚ much like issues with IP address changes. Test the threading on scrap fabric. If problems persist‚ retrace your steps‚ checking each guide. Utilize online resources and communities for support‚ mirroring the help available within the Vodafone community.
Needle Threading
Needle threading on a Singer overlocker‚ while seemingly simple‚ demands attention to detail for optimal performance. Begin by raising the needle to its highest position using the handwheel. This provides ample space for threading‚ akin to preparing for a Vodafone account update.
Next‚ guide the thread through the initial thread guide located near the needle area. Then‚ pass the thread through the needle threader – a particularly helpful tool for those with dexterity challenges. Insert the thread into the needle eye‚ moving from front to back. A slight downward pull helps secure the thread.
Confirm the thread is fully seated within the needle eye. An improperly threaded needle can cause skipped stitches or fabric puckering‚ similar to issues with call forwarding. Draw up a sufficient tail of thread – approximately 3-4 inches – to facilitate initial stitching. Test the threading on scrap fabric. If encountering difficulties‚ revisit each step‚ ensuring the thread follows the correct path. Remember‚ online communities and manuals offer valuable support‚ much like Vodafone’s self-service options.
Adjusting Thread Tension for Optimal Stitching
Achieving balanced thread tension is crucial for a professional overlock finish. Incorrect tension manifests as looping‚ puckering‚ or broken threads – issues requiring careful adjustment‚ much like managing a Vodafone contract change.
Start with the manufacturer’s recommended settings‚ typically found in your Singer overlocker manual. Test stitch on a scrap of the fabric you intend to use. Observe the stitch formation closely. If the upper looper thread pulls to the underside‚ loosen the upper looper tension.
Conversely‚ if the lower looper thread appears on the top‚ tighten the upper looper tension. Adjustments should be incremental – small turns of the tension dials. The needle thread tension influences stitch balance; loosening it can help if the needle thread is too tight. Remember‚ consistent testing is key‚ mirroring the need to verify a successful bank detail update.
Document your settings for different fabric types. Proper tension ensures a flat‚ even seam‚ preventing issues akin to interrupted call forwarding. Online resources and communities can provide tailored advice.
Troubleshooting Common Threading Issues
Encountering threading problems is common with overlockers‚ but often easily resolved. Like addressing a Vodafone device return‚ a systematic approach is best. Begin by re-threading the entire machine‚ ensuring each thread is correctly seated in its tension discs and guides – a fresh start‚ similar to initiating a new SEPA mandate.
Frequent issues include skipped stitches‚ caused by improperly threaded loopers or needles. Check that the needle is fully inserted and the correct type for your fabric. Broken threads often indicate incorrect tension or a bent needle. Always use quality thread.
If the machine jams‚ stop immediately and carefully remove the fabric and thread. Avoid pulling forcefully. Inspect the loopers for lint buildup‚ which can obstruct thread flow. Regular cleaning‚ like maintaining a stable IP address‚ prevents recurring problems.
Online forums and communities offer valuable troubleshooting advice. Documenting your machine’s settings and the steps you’ve taken can help identify patterns and solutions‚ mirroring the benefits of a Vodafone community discussion.
Differential Feed: What It Is and How to Adjust It
Differential feed is a crucial overlocker feature controlling fabric feed rate. It prevents stretching or puckering‚ much like managing a Vodafone contract change smoothly. Two sets of feed dogs move fabric under the needle; adjusting their speed relative to each other creates different effects.

A higher differential feed (upper feed dogs moving faster) gathers fabric‚ ideal for creating ruffles or lettuce edges. This is useful for delicate fabrics prone to stretching. Conversely‚ a lower differential feed (lower feed dogs moving faster) stretches fabric‚ beneficial for stabilizing knit fabrics and preventing wavy seams.
Adjusting the differential feed is typically done with dials or buttons on the machine. Start with a neutral setting (both feed dogs moving at the same speed) and adjust incrementally‚ testing on a scrap of your fabric. Like updating bank details online‚ small adjustments yield significant results.
Experimentation is key. Different fabrics require different settings. Refer to your Singer overlocker manual for specific recommendations. Online resources and community forums can also provide valuable insights‚ similar to seeking help with a Vodafone issue.
Adjusting Stitch Length and Width
Stitch length and width significantly impact the appearance and strength of your overlock seams. Adjusting these settings‚ much like managing a Vodafone account‚ requires understanding the controls and their effects; Stitch length determines how much fabric is advanced with each stitch‚ while width controls how far the needle travels to the side.
Longer stitch lengths create looser seams‚ suitable for lightweight fabrics or when a more flexible seam is desired. Shorter stitch lengths produce denser‚ stronger seams‚ ideal for heavier fabrics or areas requiring durability. Adjusting these is similar to updating your SEPA mandate – precision is key.
Stitch width affects the seam’s coverage and how much fabric is trimmed. A wider stitch provides more coverage and trims more fabric‚ while a narrower stitch offers less coverage and trims less. Experimentation on scrap fabric is crucial‚ mirroring troubleshooting an IP address issue.
Your Singer overlocker manual will detail the specific range for stitch length and width. Begin with recommended settings for your fabric type and adjust incrementally‚ observing the results. Online communities offer shared experiences‚ like Vodafone’s customer forum‚ aiding your adjustments.
Rolled Hem Stitch: A Detailed Tutorial
The rolled hem stitch creates a delicate‚ finished edge on lightweight fabrics‚ perfect for scarves‚ napkins‚ or blouses. Achieving a professional result requires precise adjustments‚ much like managing a Vodafone contract change or number porting.
First‚ detach the needle plate and replace it with the rolled hem plate. This plate has a narrow groove to guide the fabric. Next‚ adjust the stitch length to a shorter setting – typically around 1.0 to 1.5. Lower looper tension may also need slight adjustment for a clean roll.
Carefully feed the fabric edge into the groove of the rolled hem plate‚ ensuring it curls under as it passes through. A test run on scrap fabric is essential‚ similar to checking your IP address after a router restart.
Observe the rolled edge. If it’s uneven‚ fine-tune the looper tension or stitch length. Online resources and your Singer manual provide visual guides‚ akin to Vodafone’s self-service options. Consistent fabric feeding is vital for a uniform hem. Remember‚ patience and practice are key to mastering this elegant stitch.

Flatlock Stitch: A Guide to Creating Flat Seams
The flatlock stitch produces a remarkably flat and stretchy seam‚ ideal for sportswear‚ activewear‚ and garments requiring flexibility. It’s a technique demanding precision‚ much like updating your SEPA mandate or managing a Vodafone account.

Begin by disengaging the knife blade on your Singer overlocker. This prevents trimming the fabric during stitching. Adjust the upper looper tension slightly looser than for a standard overlock stitch. Experimentation is crucial‚ similar to troubleshooting a persistent IP address issue.
Place two fabric pieces wrong sides together‚ aligning the edges. Overlock the seam‚ allowing the fabric to naturally twist and flatten. The key is to ensure even fabric feeding‚ mirroring the consistent service expected from a cable provider.
Press the resulting seam flat with an iron. This reinforces the flatlock and creates a professional finish. Online tutorials and your Singer manual offer visual guidance‚ comparable to Vodafone’s community forums. Mastering flatlock requires practice‚ but the resulting seams are worth the effort. Remember to test on scraps first!
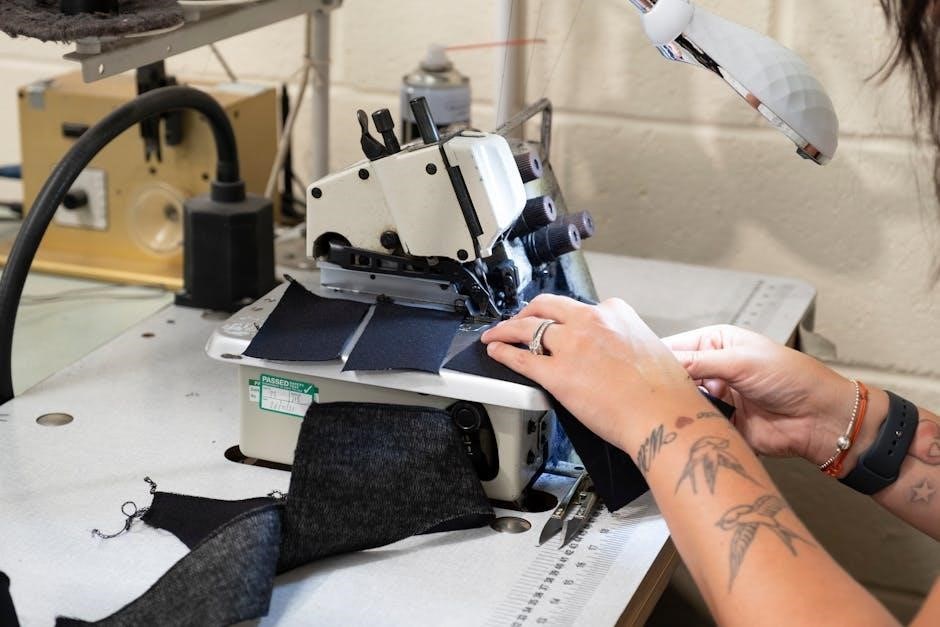
Dealing with Fabric Types: Settings and Techniques
Successfully overlocking diverse fabrics requires adjusting settings‚ much like adapting to a changing Vodafone contract or updating bank details online. Lightweight fabrics‚ like silk or chiffon‚ demand a delicate touch and reduced thread tension. Increase the stitch length slightly to prevent puckering‚ similar to resolving an issue with incoming call display.
For medium-weight fabrics – cotton‚ linen‚ or blends – standard settings generally suffice. However‚ always test on a scrap piece first! Heavier fabrics‚ such as denim or canvas‚ necessitate stronger thread and increased tension. A longer stitch length provides added durability‚ mirroring the robustness of a well-maintained network connection.
Knitted fabrics benefit from a differential feed adjustment. Increasing the differential feed prevents stretching‚ while decreasing it encourages gathering. This is akin to troubleshooting a router that won’t assign a new IP address.
Stretch fabrics require careful tension balancing and potentially a wider stitch width. Refer to your Singer manual for specific recommendations. Remember‚ consistent testing and minor adjustments are key to achieving professional results‚ just as consistent self-service options improve customer experience.
Maintaining Your Singer Overlocker: Cleaning and Oiling
Regular maintenance is crucial for optimal performance‚ much like consistently updating your Vodafone account details or troubleshooting network issues. Lint buildup significantly impacts stitch quality‚ mirroring how outdated information hinders service. After each use‚ brush away lint from the loopers‚ blades‚ and feed dogs using the provided brush.
Periodically‚ use a small vacuum attachment to remove deeply embedded lint. Apply a drop of high-quality sewing machine oil to the oiling points specified in your manual – typically the loopers and tension discs. Avoid over-oiling‚ as excess oil attracts lint. This parallels the need for a clear SEPA mandate for direct debit.
The blades require careful attention. Inspect them regularly for nicks or dullness. Replace them as needed‚ ensuring they are correctly aligned. A dull blade causes skipped stitches and fabric damage‚ similar to a malfunctioning router.
Treat your Singer overlocker with care‚ and it will provide years of reliable service‚ much like a well-managed Vodafone contract. Consistent cleaning and oiling prevent costly repairs and ensure consistently beautiful results‚ just as reliable self-service options enhance customer satisfaction.
Replacing Needles and Looper Blades
Dull or damaged needles and blades drastically affect stitch quality‚ akin to a disrupted Vodafone connection. Regularly inspect these components for wear. Replacing them proactively prevents fabric damage and ensures clean‚ professional finishes. Always consult your Singer overlocker manual for specific instructions‚ as procedures vary by model.
Needle replacement typically involves loosening a set screw and gently removing the old needle. Insert the new needle‚ ensuring it’s fully seated and the screw is tightened securely. Similar to updating your bank details online‚ precision is key.
Looper blade replacement requires more caution. Carefully remove the looper cover plate and loosen the blade screws. Remove the old blades and install the new ones‚ ensuring they are oriented correctly. Tighten the screws firmly‚ but avoid over-tightening.
Treat this process with the same diligence you’d apply to returning a Vodafone device at the end of a contract. Incorrectly installed blades can cause damage to the machine and fabric. Always use genuine Singer replacement parts for optimal performance and longevity‚ mirroring the reliability of a stable IP address.
Understanding Error Codes and Troubleshooting
Singer overlockers‚ like any complex machine‚ can display error codes indicating a problem. These codes aren’t meant to be intimidating; they’re diagnostic tools‚ similar to the incoming call display failing on your phone. Your machine’s manual is the primary resource for deciphering these messages.
Common issues often relate to threading errors – a looper not engaged‚ or incorrect tension. Re-threading‚ carefully following the manual’s diagrams‚ is the first step. Think of it as resetting your router when your IP address isn’t updating.
Other codes might signal a motor overload‚ a broken needle‚ or a problem with the differential feed. Before contacting support‚ check for simple fixes: ensure the presser foot is down‚ the fabric isn’t jammed‚ and the machine is properly oiled.
Online communities‚ like the Vodafone community forum‚ can be invaluable for troubleshooting. Search for your specific error code to see if others have encountered and resolved the same issue. If the problem persists‚ consult a qualified technician – just as you’d seek help with a complex contract change.
Resources: Where to Find Additional Help and Support
Beyond this manual‚ a wealth of resources exists to support your Singer overlocker journey. The official Singer website offers downloadable manuals‚ FAQs‚ and troubleshooting guides – a self-service hub akin to Vodafone’s online support portal;
Online communities and forums dedicated to sewing and overlocking are incredibly valuable. Platforms like dedicated Facebook groups or sewing-focused websites allow you to connect with experienced users‚ ask questions‚ and share tips. This mirrors the collaborative spirit of the Vodafone Community.
YouTube is a treasure trove of video tutorials‚ demonstrating everything from basic threading to advanced techniques. Search for your specific Singer model number for targeted guidance;
Local sewing machine retailers often provide classes and repair services. Consider taking a class to deepen your understanding or seeking professional help if you encounter persistent issues. Remember‚ just like managing your Vodafone account‚ sometimes expert assistance is the most efficient solution. Don’t hesitate to reach out for support when needed!